Introduction: Finish Like a Pro, Protect Like an Expert
Tackling a weekend makeover? Whether you’re stripping old paint, sanding down a deck, or mixing mortar, choosing the right gloves for DIY is the difference between a successful project and a painful cleanup.
Many homeowners reach for thin disposables or breathable garden gloves, but these often fail under the stress of harsh solvents or abrasive sanding. This guide focuses on the benefits of unsupported reusable rubber gloves—solid-polymer barriers that are 100% liquid-proof. By selecting the right material and features (like embossed grip and internal flocking), you can protect your hands from chemicals and fatigue while ensuring your work looks professional, not messy.
1. Material Science: How Glove Type Affects DIY Performance
Because unsupported gloves are made of a single continuous layer of polymer, your choice of material is your only line of defense against the hazards of home repair “.
- Nitrile: The “DIY MVP.” It is highly resistant to oils, greases, and many paint solvents. Nitrile is naturally puncture-resistant and, unlike latex, it will not degrade or get “sticky” when it comes into contact with petroleum-based products “.
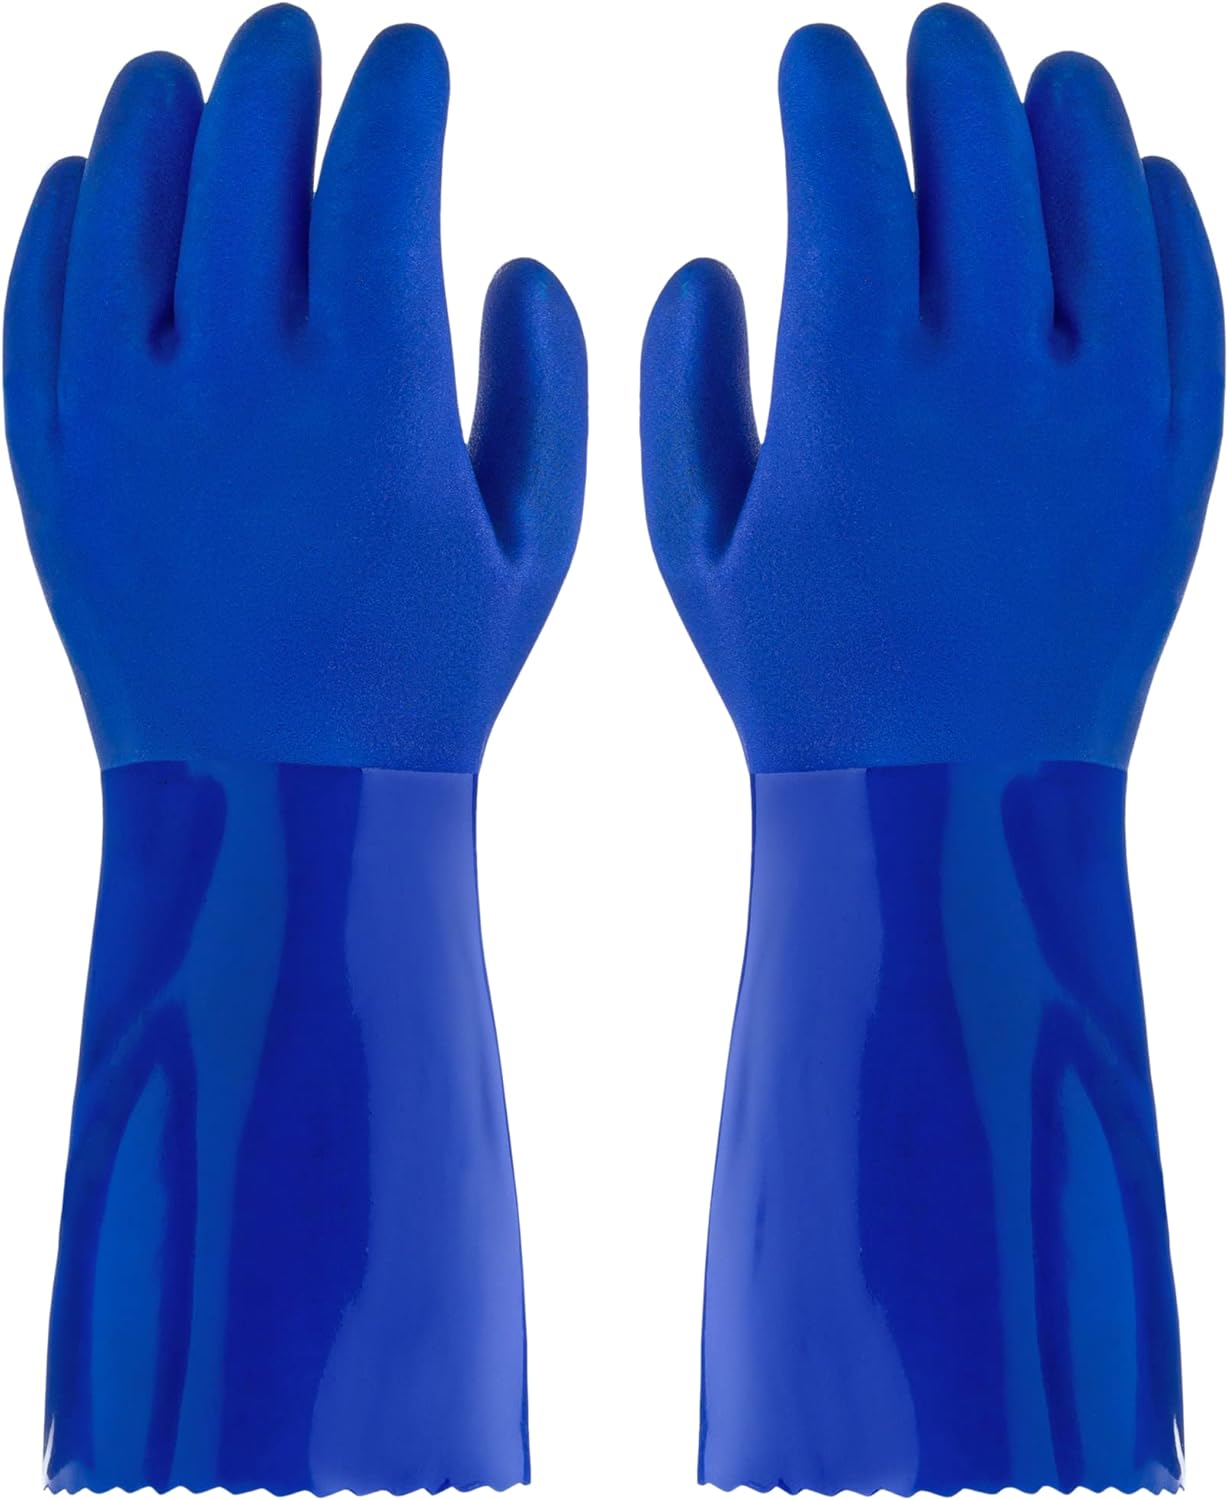
- Neoprene: The heavy-duty choice for stripping paint or working with acids and caustics. Neoprene remains flexible across temperatures and offers superior chemical resistance that outperforms standard household rubber “.
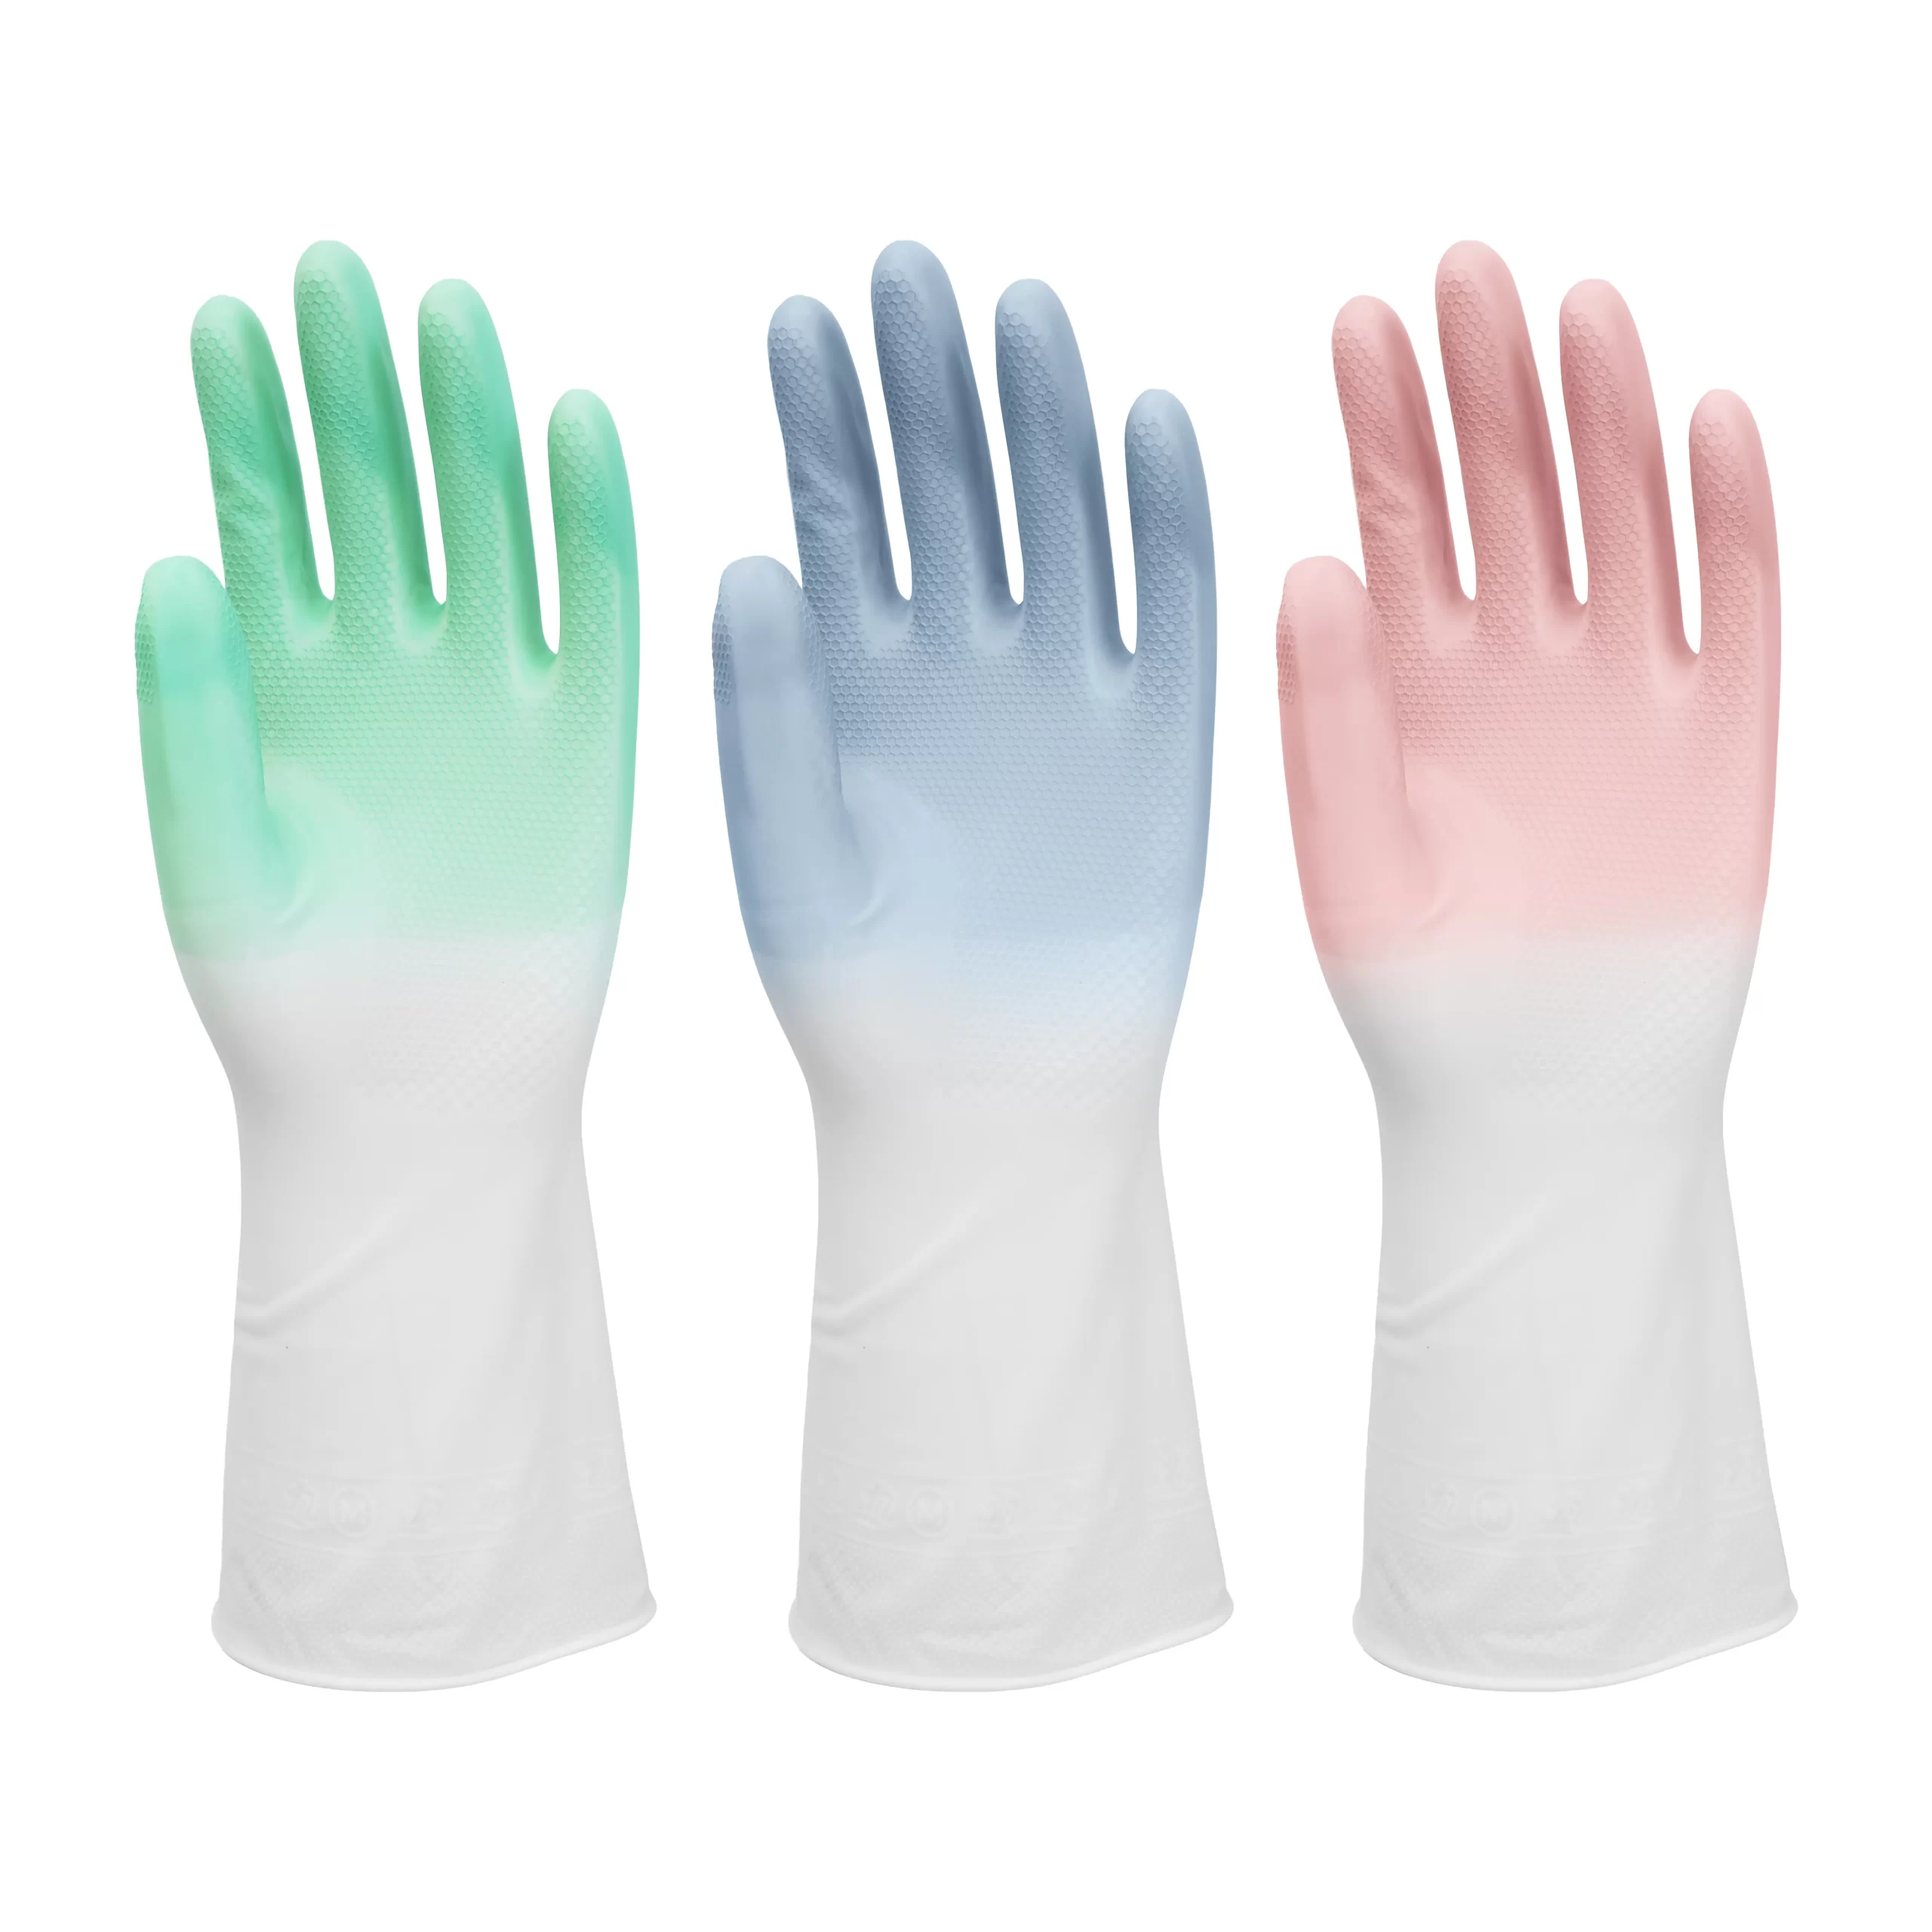
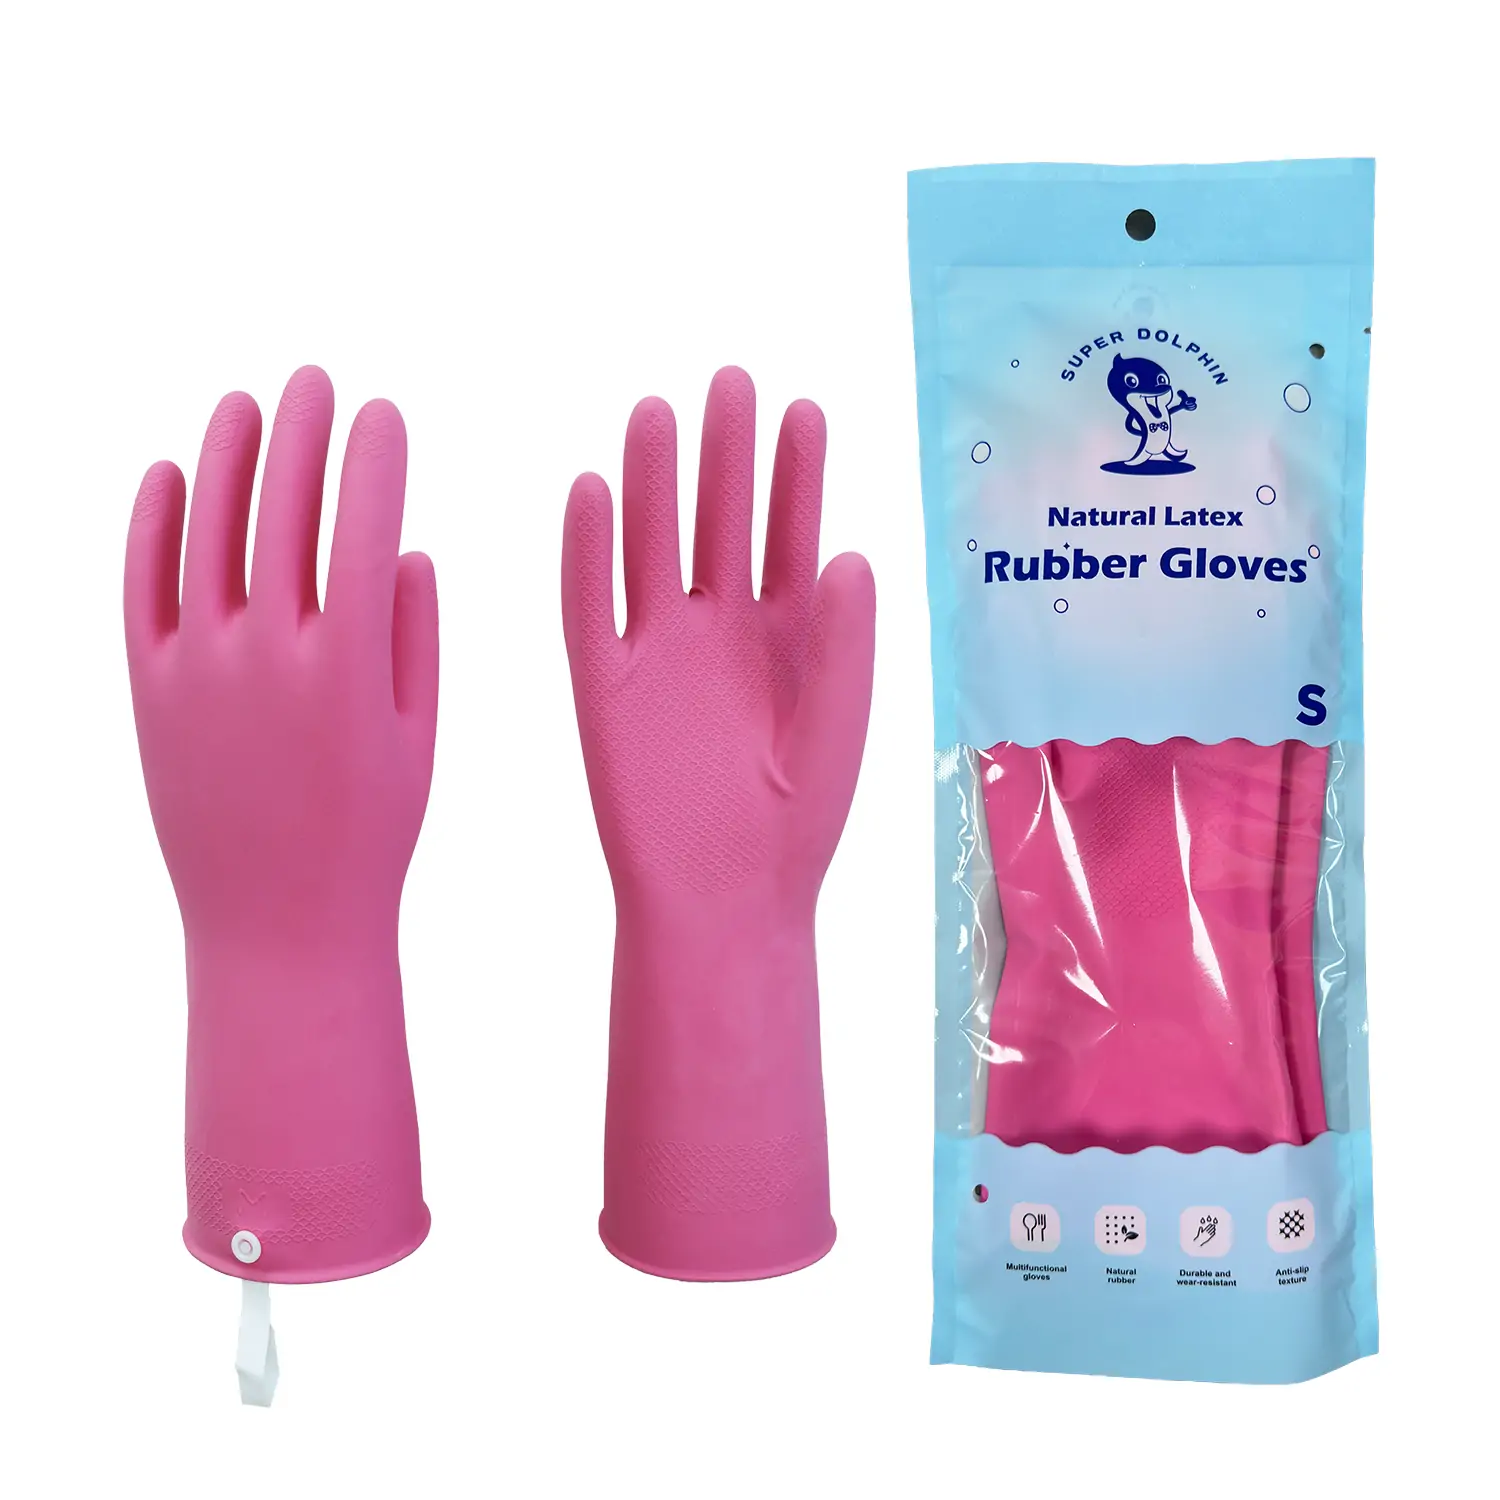
- Natural Rubber (Latex): Prized for unmatched tactile sensitivity and fit. It is excellent for water-based painting and fine finishing where you need to “feel” the surface, but it should be avoided when using oil-based primers or harsh cleaners “.
2. DIY Task Cheat-Sheet: Choosing the Right Protection

Stop using one pair of gloves for every task. Match your protection to the risk:
| DIY Task | Recommended Glove | The Professional Rationale |
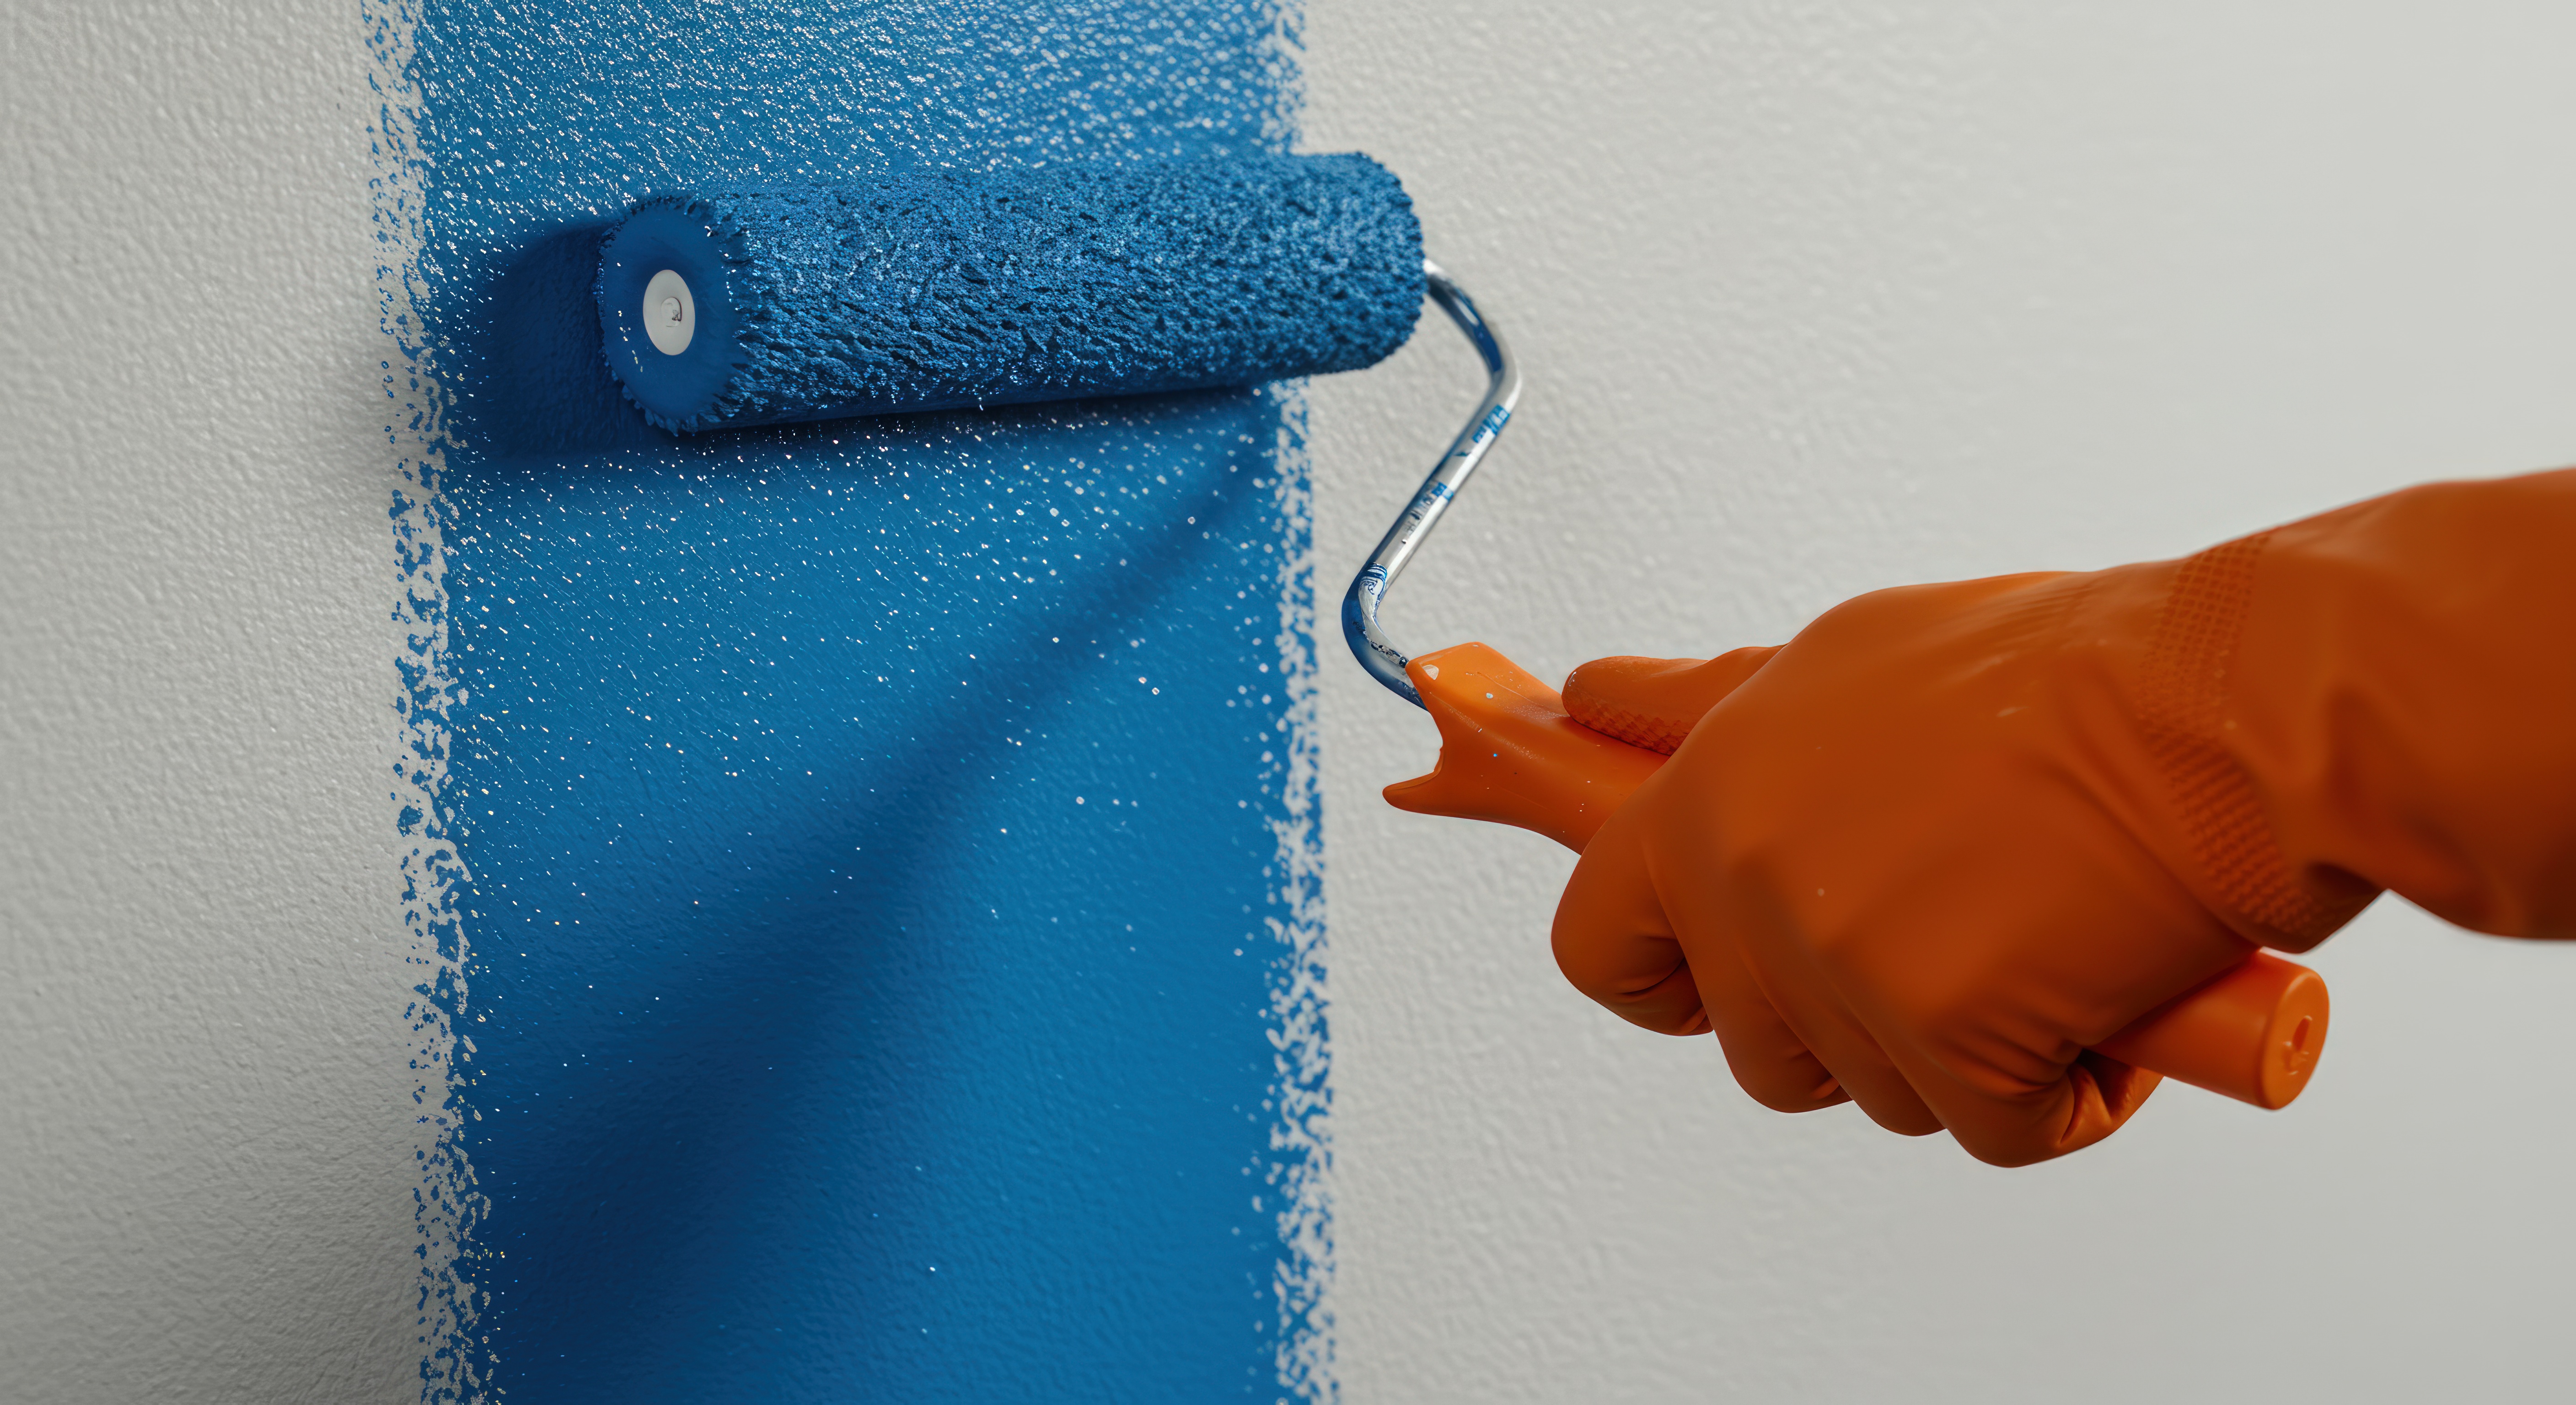
| Oil-Based Painting / Stripping | Thick Nitrile or Neoprene | High resistance to solvents and paint thinners; prevents chemical “breakthrough” to the skin “. |
| Water-Based Painting / Trim Work | Latex (Flock-Lined) | Maximum dexterity for detail work; flocking absorbs sweat during long painting sessions “. |
| Sanding & Drywall | Heavy Nitrile (Diamond Grip) | Protects against skin abrasion; molded diamond textures provide the traction needed to hold sanding blocks securely “. |
| Mixing Plaster / Tiling | Long-Cuff PVC or Nitrile | 100% liquid-proof protection against caustic lime in plaster; easy to rinse off and reuse “. |
| Post-Project Cleanup | Nitrile (Chlorinated) | Resists cleaners and detergents; chlorinated finish makes them easy to slip on and off for quick tasks “. |
3. Comfort Engineering for Long DIY Sessions
DIY projects often take hours. An uncomfortable glove leads to “glove fatigue,” causing you to remove your PPE and risk injury.
- The Flocking Advantage: Look for gloves with Internal Cotton Flocking. This sprayed-on fiber layer manages moisture by absorbing sweat, keeping your hands dry and preventing the “clammy” feel of plain rubber “.
- Sizing for Success: A glove that is too tight causes hand strain; one that is too loose reduces your grip. Measure your palm width in inches to find your perfect numerical size (e.g., Size 8 for Medium, Size 9 for Large).
- Gauntlet Cuffs: For tasks involving deep buckets or overhead painting, choose a Gauntlet or Long-Cuff style (12–15 inches). This prevents paint or chemicals from wicking down your arm and entering the glove “.
4. Safety First: Donning, Doffing & Contamination Control
Gloves are only effective if they are used correctly.
- The “Field Air Test”: Before starting a messy job, pinch the cuff, roll it up to trap air, and listen for leaks. This ensures your barrier is 100% intact “.
- Safe Removal (Doffing): Peel the glove off from the wrist, turning it inside out as you go. This keeps contaminants trapped on the inside and away from your skin “.
- Certification Matters: For DIYers, quality matters. Ensure your gloves are SGS tested for tensile strength and ISO-certified for consistent quality, so they won’t rip halfway through a project “.
5. Maintenance: Stopping “Sticky” Rubber Degradation
High-quality reusable gloves are an investment. Improper care causes “reversion”—where the rubber molecules break down and become tacky or sticky “.
- Immediate Rinse: After use, rinse the exterior of the gloves with mild soap while still wearing them to remove paint residue or chemicals “.
- Inside-Out Wash: Occasionally wash the interior to remove sweat salts that can degrade the flocking “.
- Mandatory Air Dry: Never put rubber gloves in a dryer or dishwasher. Hang them to air dry in a cool, ventilated area away from direct sunlight (UV rays accelerate material breakdown) “.
FAQ
Q: Can I use garden gloves for sanding?
A: Breathable fabric garden gloves offer no protection against fine dust or the liquids used in wet sanding. Use unsupported nitrile gloves to keep your hands clean and protected from both abrasion and moisture.
Q: How do I know when to retire my DIY gloves?
A: Replace them immediately if you notice fading, discoloration, or “thin spots” in the fingertips. These are signs that chemicals have compromised the material integrity “.
Conclusion: Invest in Your Hands
Your hands are your most important tools. By upgrading from flimsy disposables to professional-grade ISO and FDA-compliant reusable rubber gloves, you ensure a safer, cleaner, and more comfortable DIY experience. Don’t let a $100 painting project be ruined by a $1 pair of gloves.
Ready to gear up for your next project?
Discover our SGS-verified, high-durability DIY range.